
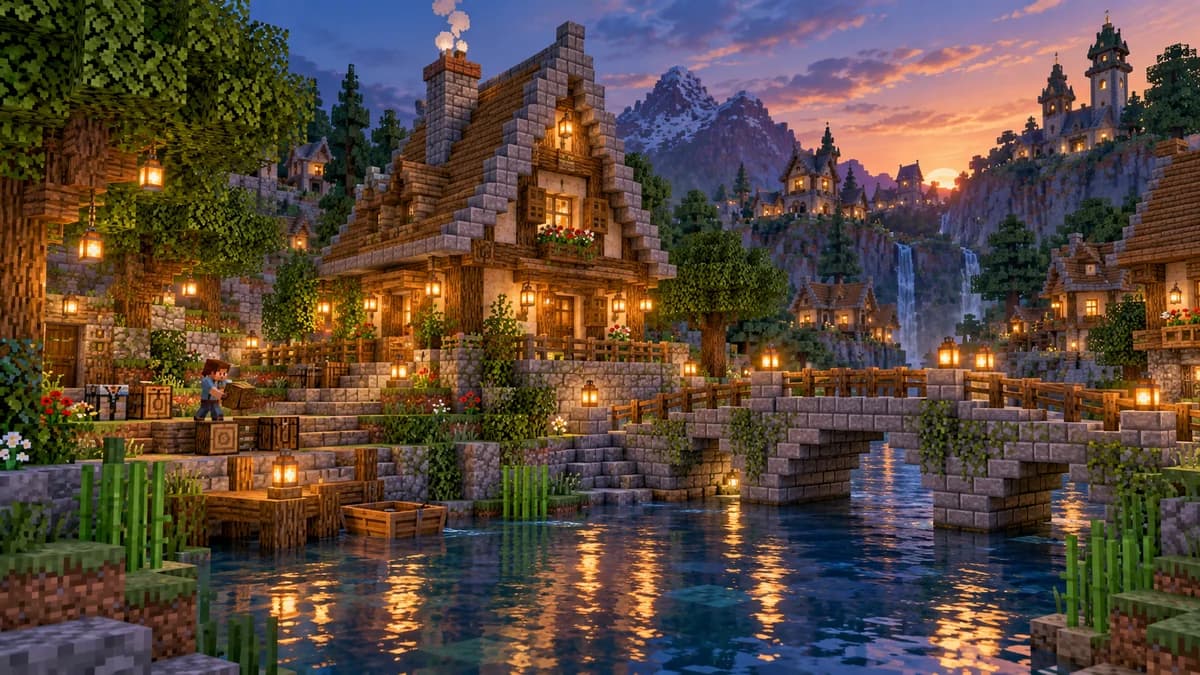
Fix the bank and water coordinates
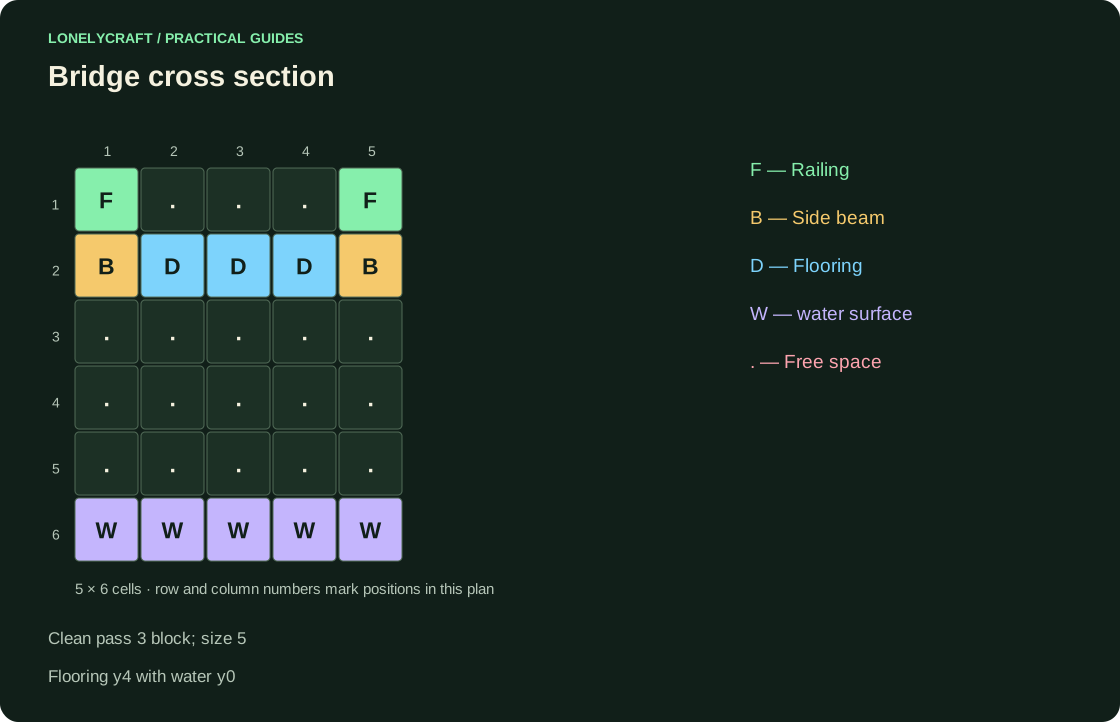
Let the direction of the crossing be z=0…12, the width of the flooring x=−1…1. The total width with railings x=−2…2 is five blocks. Let’s take the water level to be y=0, the full decking block to be y=4: there is space up to y=4 between the water surface and the bottom edge of the deck.
Before construction, sail the boat under the temporary beam at the selected height. This will test the actual river and the player's chosen landing; simply counting levels does not replace experience with a specific vehicle.
Lay down decking and outer fencing
For the main rectangle, prepare 39 boards, 26 fencing sections and material for four shore supports. Flooring - x=−1...1,z=0...12,y=4. The railing goes along x=−2 and x=2 on the same row z and height y=5. Consider their supporting side beams additionally.
Place the shore supports outside the passage near z=0 and z=12. Don't place a post in the middle of a narrow riverbed for the sake of symmetry. If the bank is lower than the deck, add safe approaches with steps, maintaining its clear width.
Check the section and route after decoration
Cross the bridge in two directions, turn around at the entrance and then cross the boat. Place lamps and thick posts outside the three central stripes. At edges with a drop, the fencing continues to a safe section of the shore.
If you want a stone silhouette, first mark the decorative arch on the side with temporary blocks. She is not required to physically hold the deck, but should not block the boat passage. Maintain one proven cross profile along the entire length.
The staircase and embankment should continue the relief without ending in a vertical wall. Connect the approaches to the shore.
A beautiful light on a pole does not necessarily illuminate the road surface. Illuminate dangerous approaches.