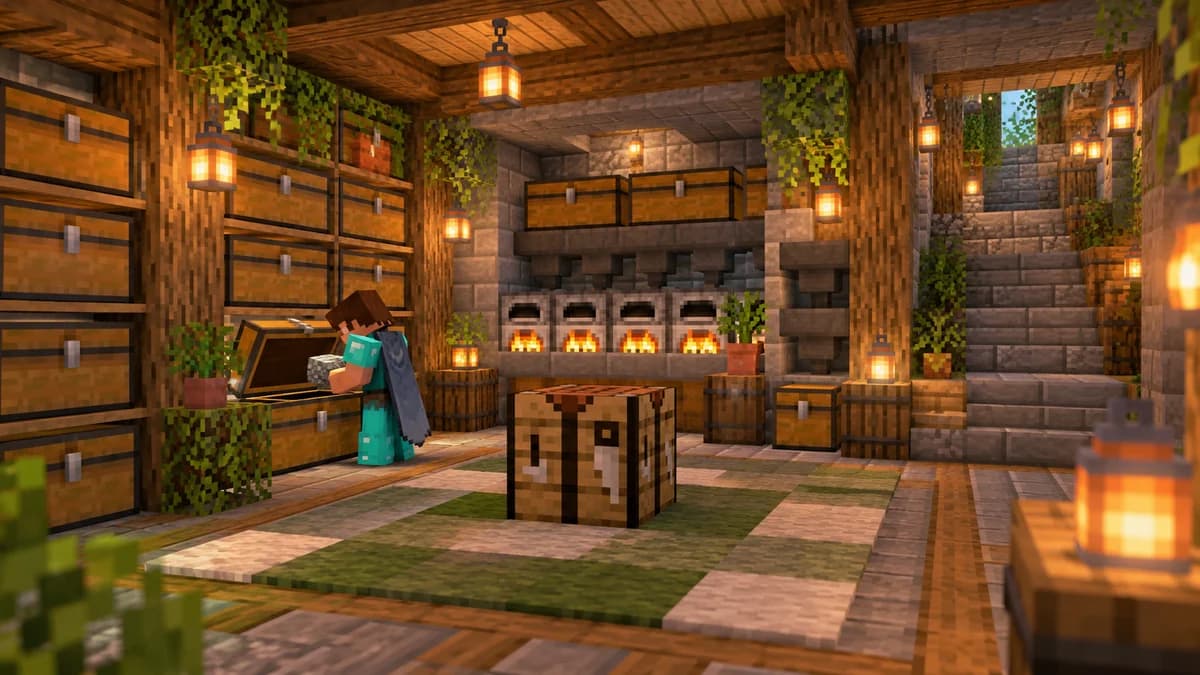
Mark the interior floor
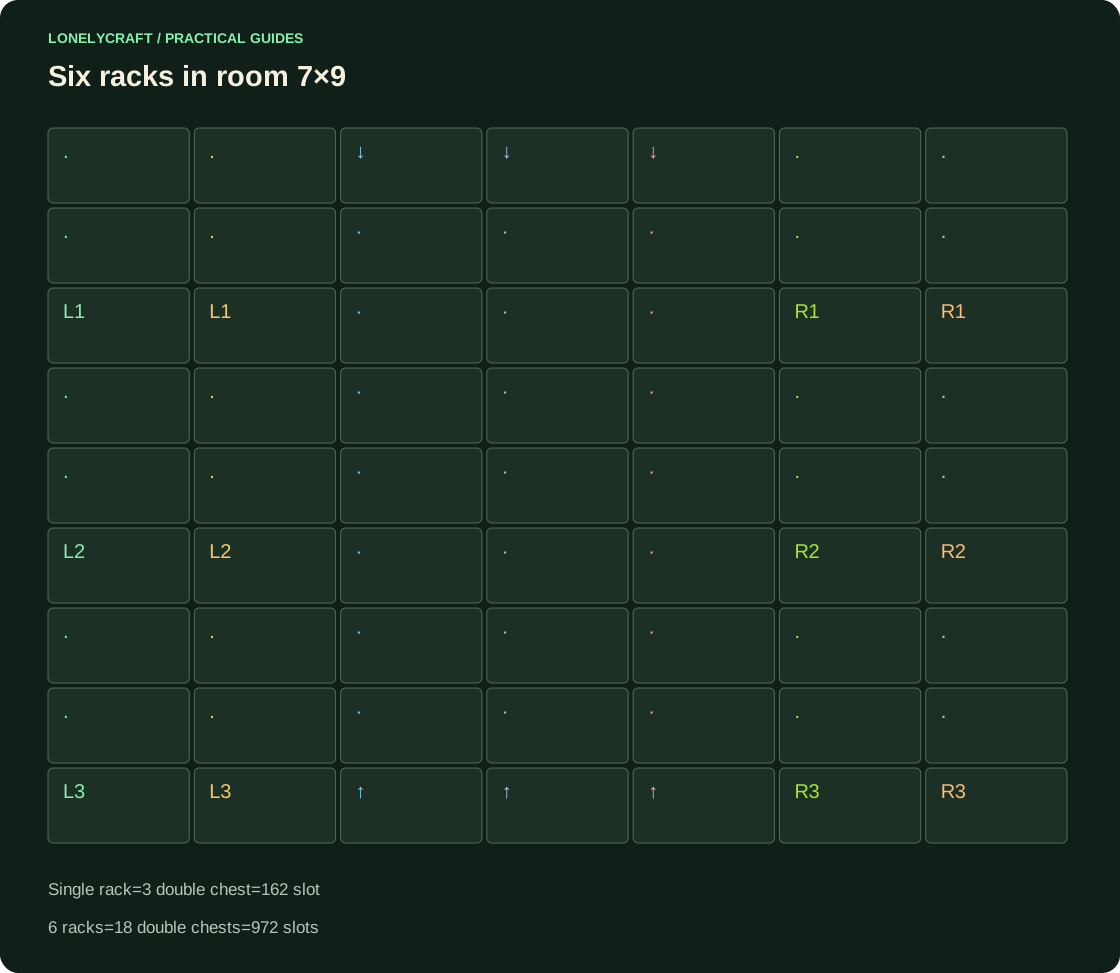
Coordinates of the room without external walls: x=0…6,z=0…8. The input goes to x=3,z=0; x=2…4 - central passage with a width of 3. On the left, pairs of chests occupy x=0…1, on the right x=5…6. Place the modules at z=2,5,8.
Prepare 36 chests, 18 signatures and 63 floor blocks. For unloading at the entrance, add a separate single chest “For disassembly” and a crafting table; walls, ceiling, light and technical area are not included in this expense.
Test one module on three levels
Connect the first pair of chests on the left at z=2 and repeat on the two levels above. Open the bottom, middle and top from the center track. Above the top one, do not place a full block that interferes with the lid. If the third tier is inconvenient, reduce all racks to two until they are filled with resources.
In one rack there are 3×54=162 slots. In six —972 slots; with a stack of 64 the theoretical limit is 62 208 items. Tools and items with a stack of 16 occupy slots differently: this figure does not promise as many things.
Expand the addressing system without blocking the walkway
Name the racks L1,L2,L3 on the left and R1,R2,R3 on the right of the entrance. Levels A/B/C indicate the lower/middle/upper chest. Keep frequent items close to the entrance; the mass stone receives its own continuation.
Leave the far central passage x=2…4,z=8 free for the next room. The technical corridor of the future sorter is not included in 7×9. Before automation, provide a visible exit for unsupported items and test for overflow.
The address and category will help you find the item after the warehouse has expanded. Sign all 18 containers.
The house needs its own paths to the bed and stairs. Do not occupy a residential passage with a warehouse.